
Introducing the YetiForm MCP
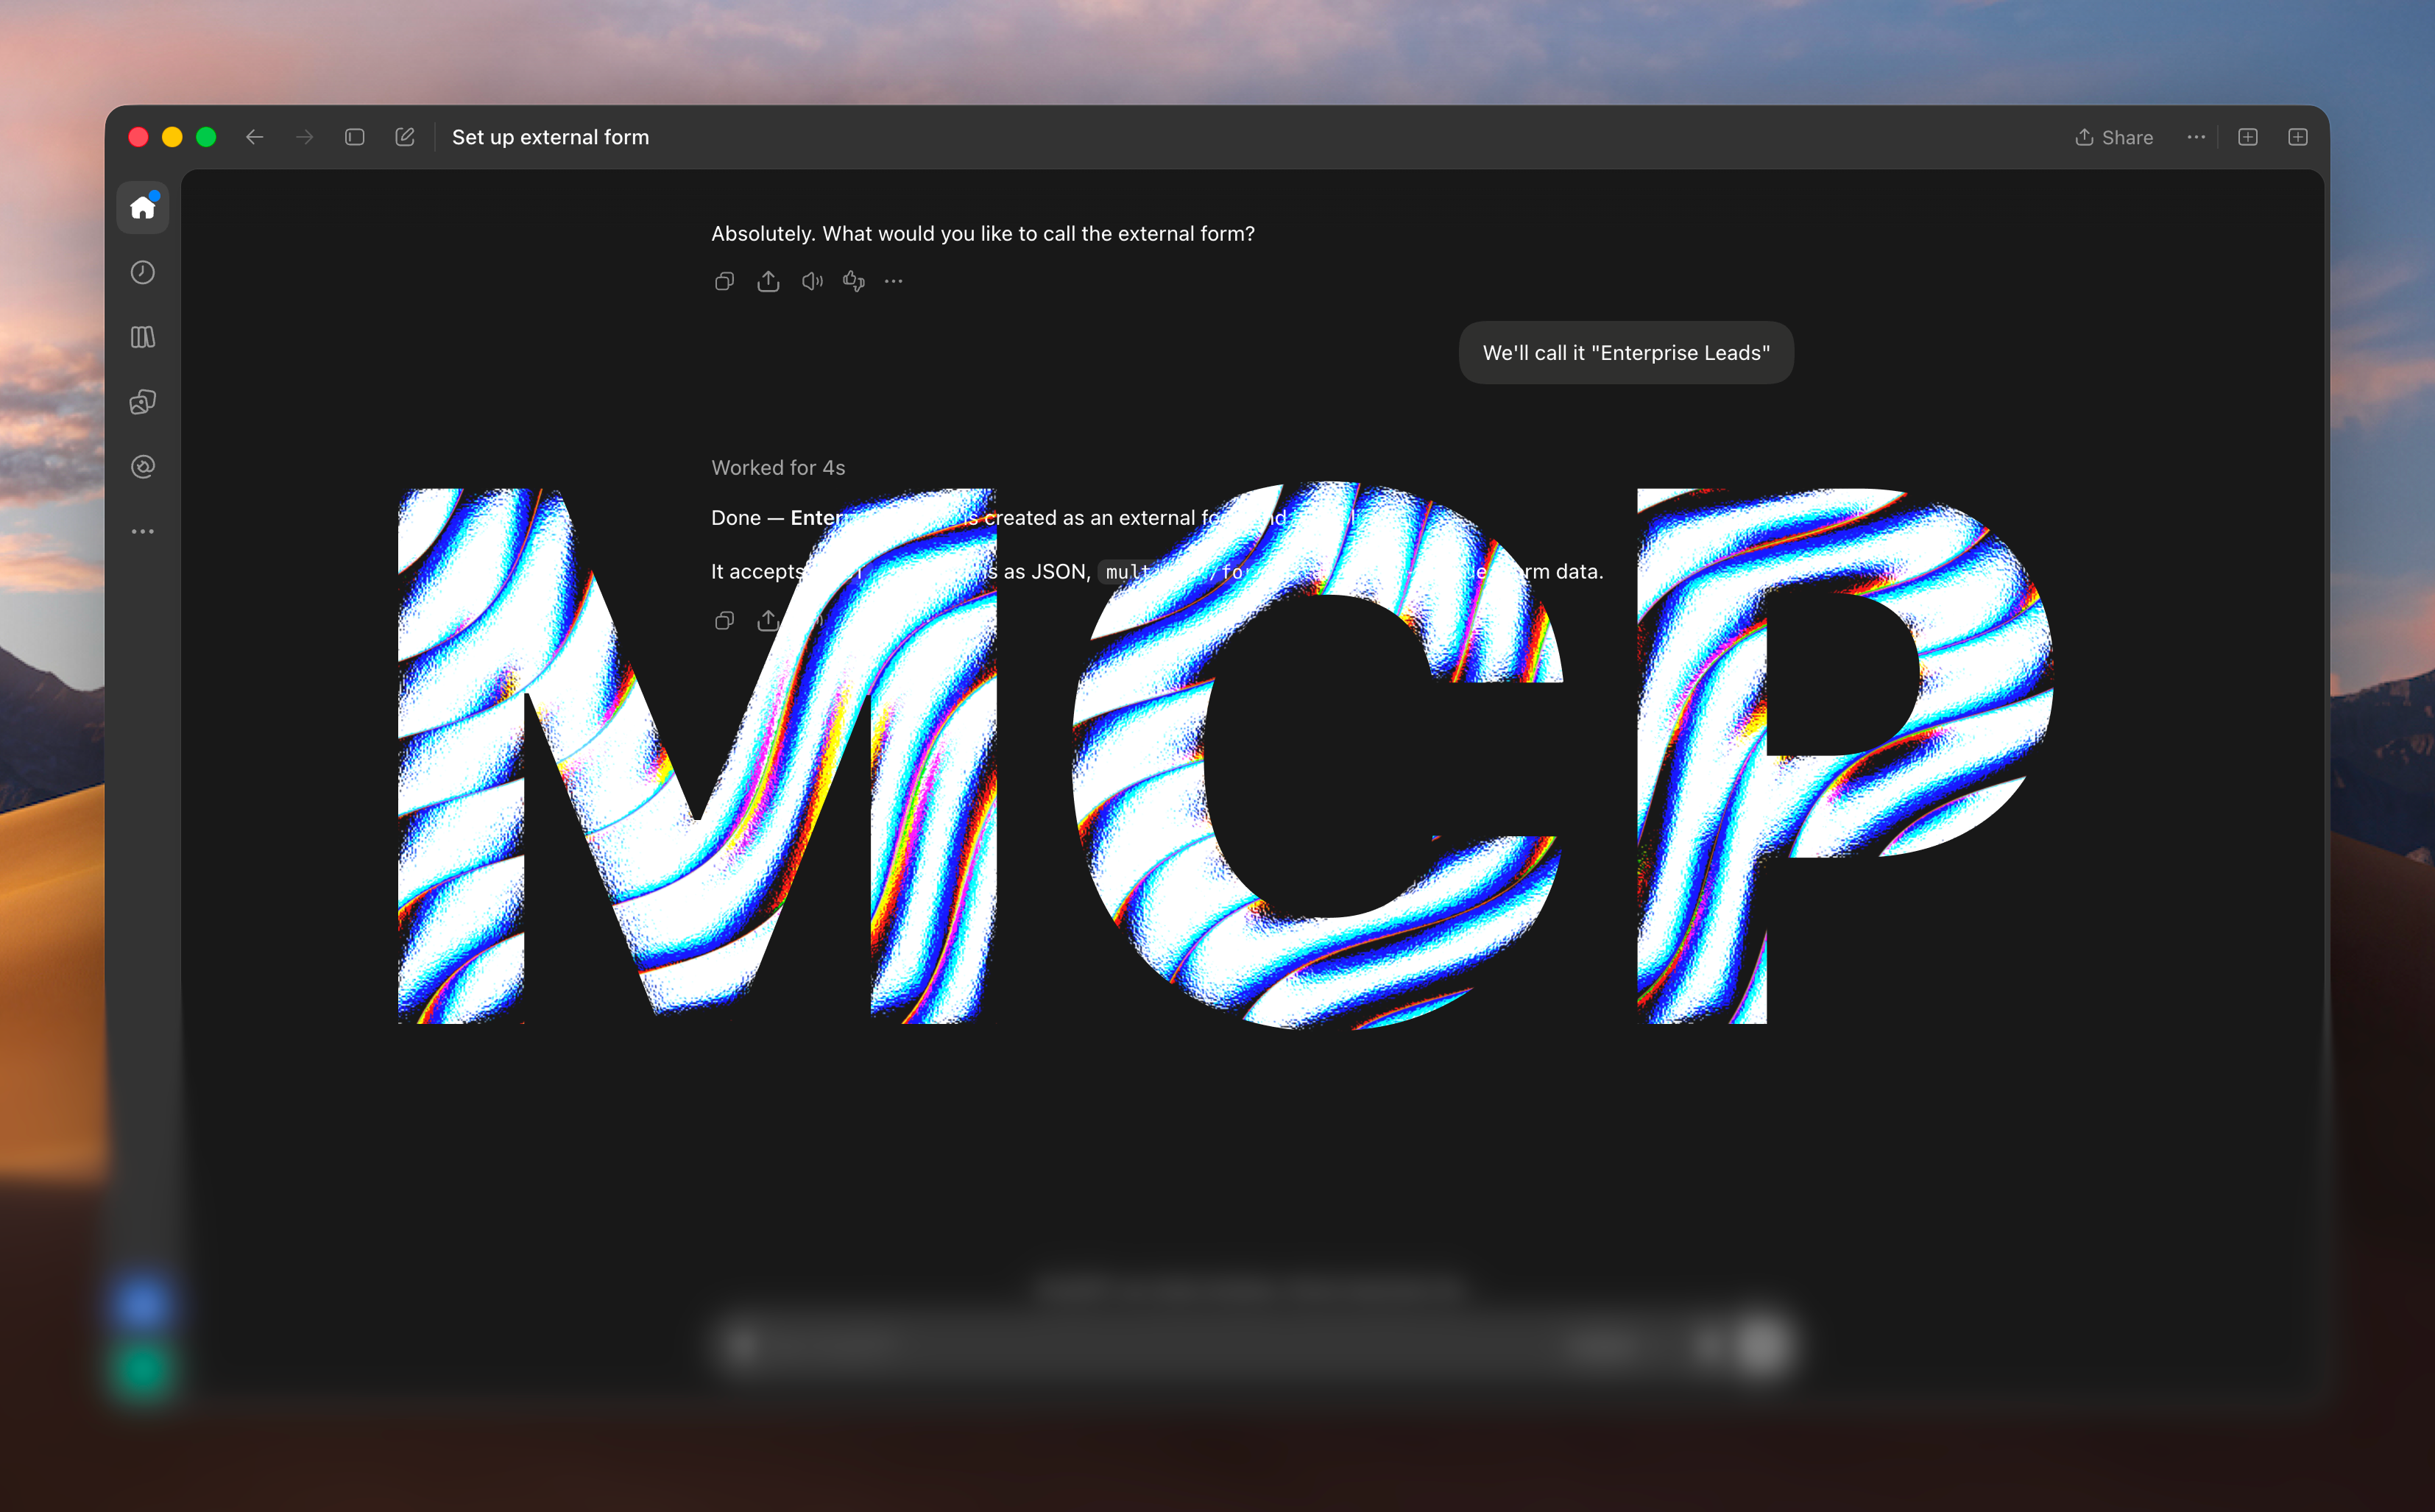
Your forms can now be part of the conversation. Connect YetiForm to ChatGPT or Claude, and ask your assistant to create forms, wire up an existing form, or find the responses you need.
MCP (Model Context Protocol) gives compatible assistants a secure way to use YetiForm’s tools. Your assistant works with the account you connect and only has the permissions you approve. You can keep building in the YetiForm editor whenever you want finer control.
What your assistant can do
These are the tools currently available through the YetiForm MCP server:
| Tool | What it does |
|---|---|
get_profile | See the full name and email of the connected YetiForm account. |
list_forms | Find your builder and external forms. |
get_form | Inspect a form and its fields. |
create_form | Create a new builder form draft. |
create_external_form | Create a submission backend for a form built elsewhere. |
add_form_fields | Add fields and steps to a builder form draft. |
get_form_integration | Get embed code or an external submission endpoint. |
list_submissions | Browse recent submissions for one of your forms. |
get_submission | Read the answers in a submission. |
Builder forms created through MCP start as drafts. Review and publish them in the YetiForm editor when they’re ready. The MCP tools do not publish or delete forms.
Connect YetiForm
Use this same URL in either assistant:
https://app.yetiform.com/mcpSign in to your YetiForm account during setup and review the requested permissions. You do not need to paste an API key into a chat.
Set up in ChatGPT
- In ChatGPT, open Settings → Security and login and turn on Developer mode.
- Open ChatGPT Plugins, select +, then Create custom MCP server.
- Name it YetiForm and enter
https://app.yetiform.com/mcpas the server URL. - Choose OAuth for authentication. If asked how to register the OAuth client, choose Dynamic Client Registration.
- Create the connection, select Connect, then sign in to YetiForm and approve the requested access.
- In a new chat, enable YetiForm from the tools menu and try: “Create a contact form with name, email, and message fields.”
The available menus can depend on your ChatGPT account or workspace. See OpenAI’s connection guide for the latest interface.
Set up in Claude
- In Claude, open Customize → Connectors, then choose + Add → Add custom connector.
- Name it YetiForm, enter
https://app.yetiform.com/mcp, and select Continue. - Review the detected authentication settings. Choose Sign in now or Sign in when needed, then choose Register automatically for the OAuth client.
- Add the connector, select Connect, then sign in to YetiForm and approve the requested access.
- Enable YetiForm for a conversation from + → Connectors and ask Claude to create a new lead form.
On Claude Team or Enterprise, an organization owner must add the custom web connector first. Members can then connect their own accounts. See Claude’s connector guide.
A few things to try
- “Create a two-step demo request form with contact details first and project details second.”
- “I built a lead form in Next.js. Set up YetiForm to collect its submissions and show me how to connect it.”
- “Find my demo request form and summarize the latest submissions.”
- “Give me the embed code for my contact form so I can add it to my website.”